 ▶Watch on YouTube
- A factory reimage uses Lenovo's own recovery media and brings back the System Recovery option that a plain Windows 11 install doesn't.
- You'll need a 32 GB or larger USB stick, a USB-C hub (unless you have a USB-C stick), a PC and a Lenovo account.
- The recovery media is tied to your serial number, and a digital download only works once and for a couple of days.
- Disable USB selective suspend and USB hub power management on your PC, or the media creation can fail.
What's up, guys! We're back on the Legion Go 2 Z2 Extreme, doing a full factory reimage of the SSD from Lenovo. This is kind of the more proper way to get it back to how it was when it came from the store, and it's different from just installing Windows 11 with the regular installation media. I do prefer this way, and a lot of you guys have asked me about it since the SteamOS videos.
So, I've been using SteamOS on here for about 3 weeks, and it's been really good. Valve still has some things to update, like the brightness slider not working and the speaker audio quality, but game performance was as good or better than Windows. But I have a lot of stuff to test on Windows, kind of the way this device is intended.
Why reimage instead of a clean Windows install?
Hold Volume Up while you power on and you get a menu with BIOS setup, boot menu and System Recovery. Once you install SteamOS, you lose that Lenovo system recovery option, and installing Windows from Microsoft's media won't bring it back. The factory reimage does.
What you need
- A USB stick, at least 32 GB (I used a 32 GB SanDisk), clean and formatted
- A hub to plug the USB into the Legion Go's USB-C (a USB-C thumb stick would probably work too, though I haven't tried it)
- A PC to create the media
- A Lenovo account
- Your serial number: lift the kickstand on the back for the QR code and SN, or check the box
Step 1: Order the recovery media (digital download)
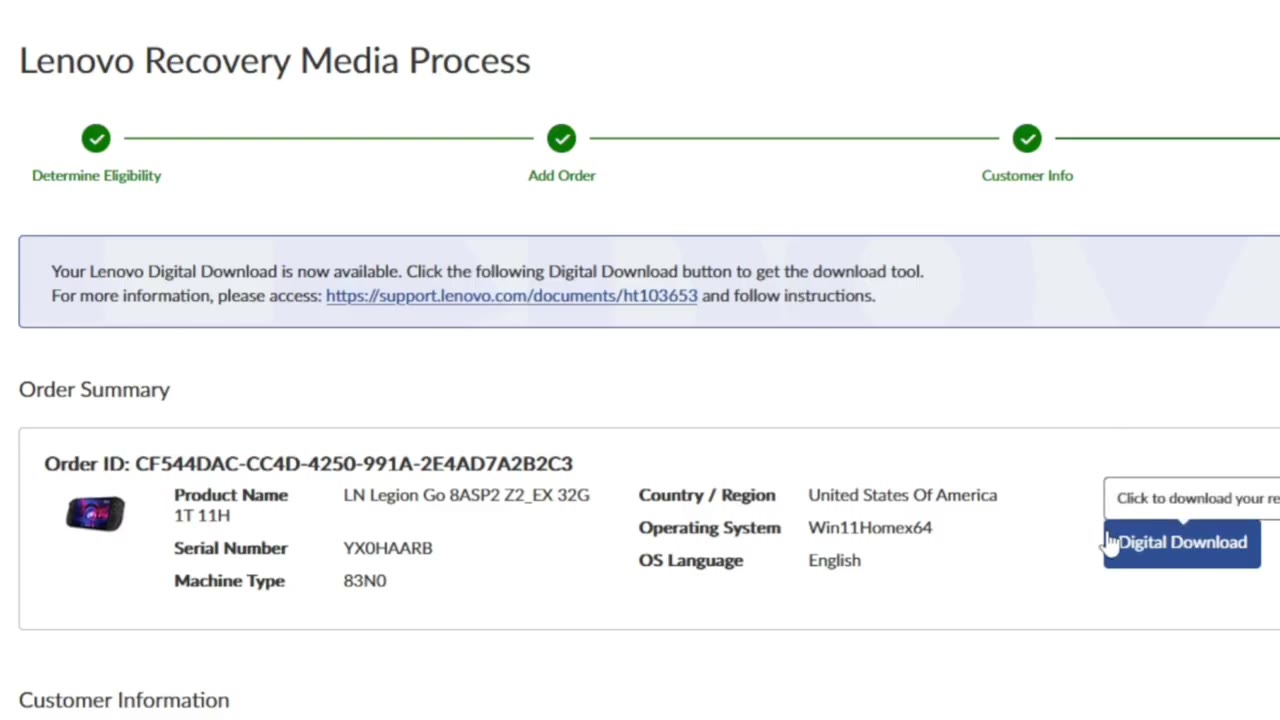
- Go to Lenovo's drivers and software support site for your model and find Get Recovery Media, then click Order. Other Legion Go models work pretty much the same way.
- Click Continue and enter your serial number. That's what determines which factory image you get.
- Pick your OS language (English for me) and check that your Legion Go model shows up correctly.
- Under media type, choose Digital Download so you can make the media yourself right away. You can also order a USB, but that takes a few weeks.
- Accept the agreement, click Next and sign into your Lenovo account.
- Check everything, tick "I'm not a robot" and click Submit, then click the Digital Download button.
Keep in mind the download is only good for a couple of days, and once you use it, it's no good and you have to order again.
Step 2: Fix USB power settings on your PC
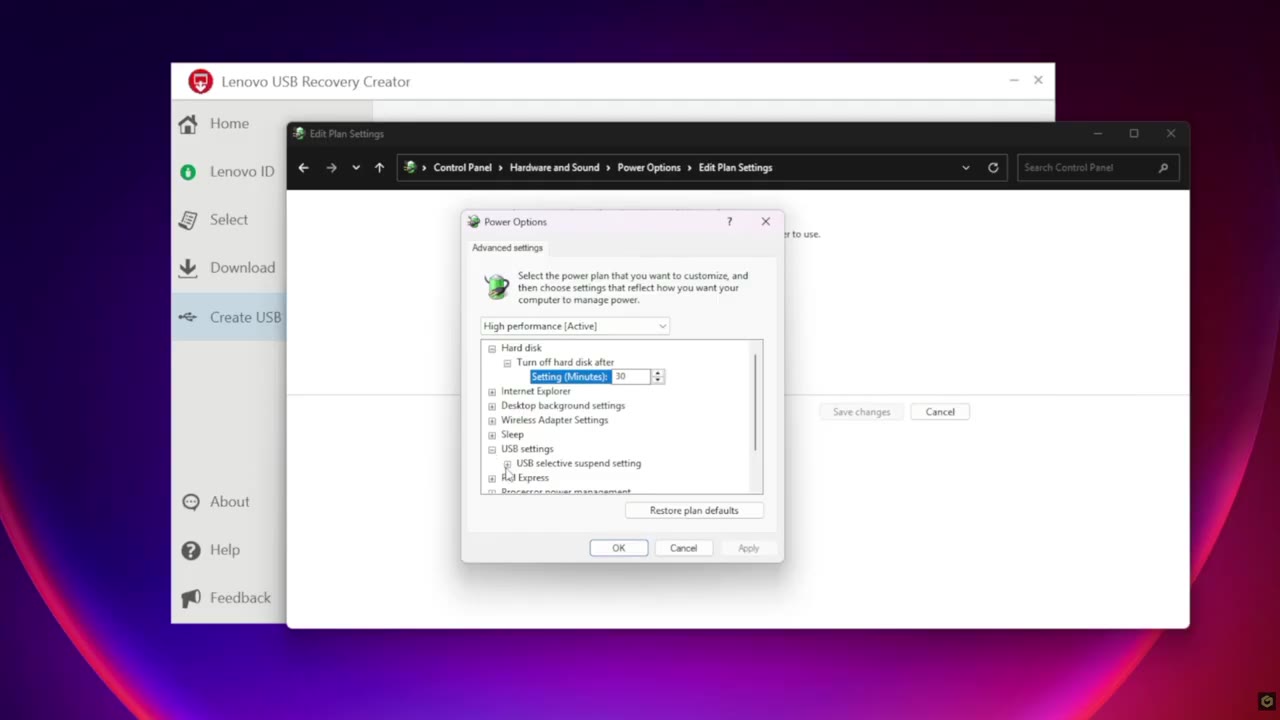
Now, I had the creation fail on me, acting like the drive was unplugged. It happened with the original Legion Go too. Here's what helped:
- Control Panel → Hardware and Sound → Power Options → Edit power plan → Change advanced settings.
- Under USB settings, set USB selective suspend to Disabled.
- In Device Manager, go to the Universal Serial Bus hubs and, on every entry with a Power Management tab, untick the power-saving option.
Step 3: Create the recovery USB
- Run the recovery tool from your Downloads folder and click Start.
- Sign in with the same Lenovo ID you used for the order, then click Confirm on your model's image.
- Leave or change the download path and click Download.
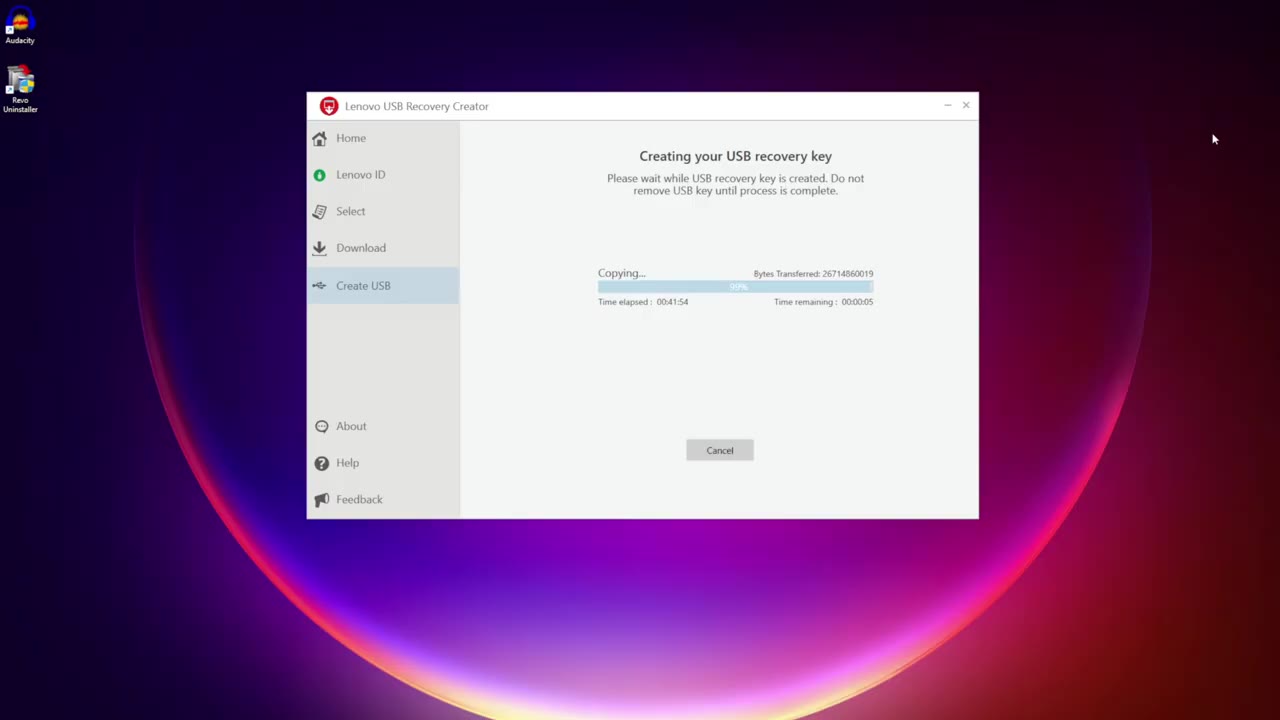
- When it's done, click Next, pick your USB drive and click Next again. Say Yes to validation.
- It partitions, copies files and validates again. This takes a little bit of time. You'll get a green thumbs-up: "USB key created successfully."
Step 4: Turn Secure Boot back on
- Shut down the Legion Go 2. Hold Volume Up, power on and keep holding until the menu comes up.
- Go into BIOS Setup → More Settings → Security tab.
- Scroll down to Secure Boot. You probably disabled it for SteamOS, so re-enable it for Windows 11.
- Exit saving changes.
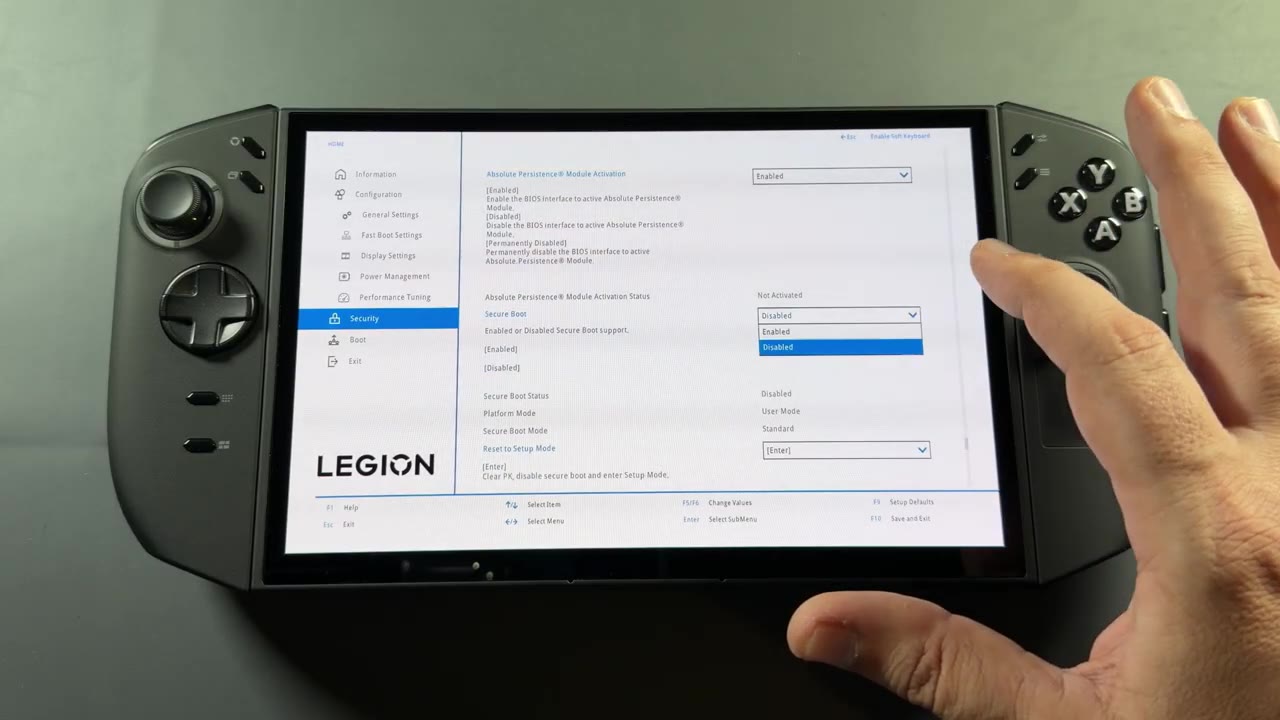
Step 5: Boot the USB and reimage
- With the device off, connect the hub and the recovery USB.
- Hold Volume Up, power on, and keep holding until you see the Legion logo and the menu.
- Go to the Boot Menu and pick your USB drive (my SanDisk was third down).
- Choose your language and region (USA for me), click Next, accept the agreement, and click Yes.
- When it tells you to remove the USB drive, remove it first and then click OK. If you click OK with it still plugged in, you could wind up with an issue.
- It goes through a ton of restarts and installs. It takes some time, and eventually you land on the normal Windows 11 setup.
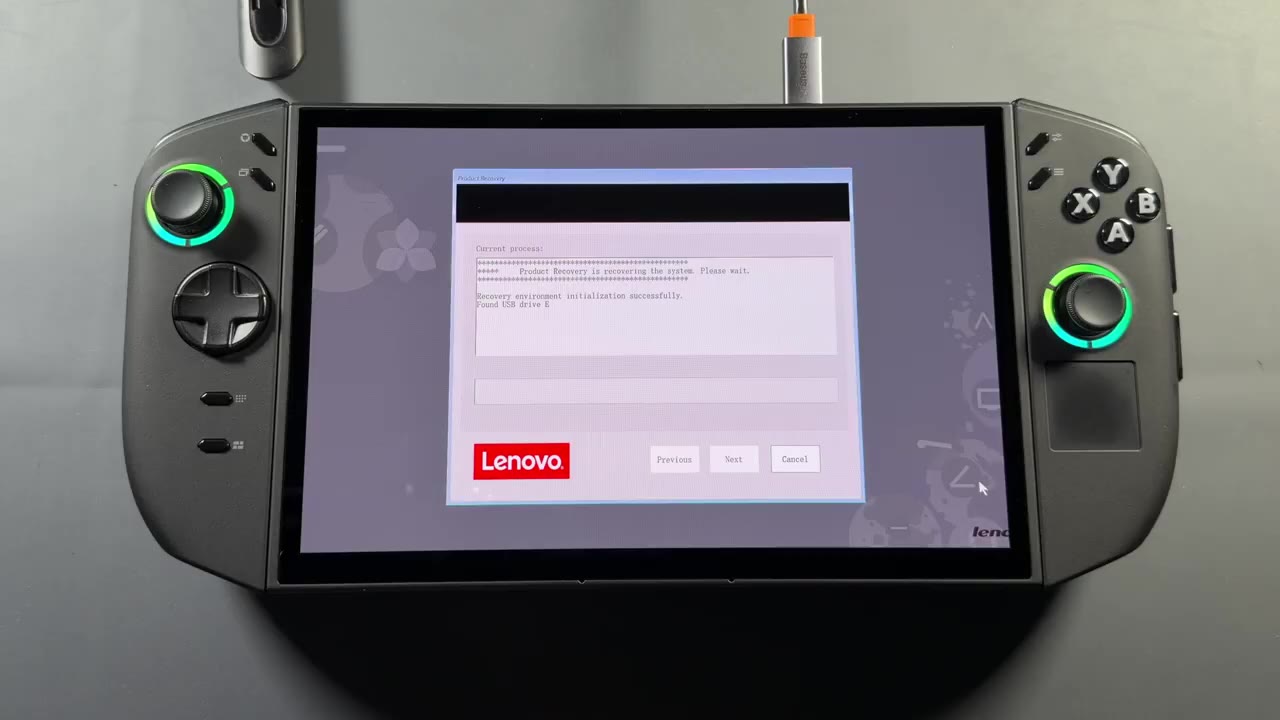
After setup
Once I got through Windows setup, I updated Windows, the Store apps, the GPU drivers and Legion Space. It's not as slick and easy as SteamOS when you first load in, but now it's working great and running as intended, with all of the system recovery options back. I tested a couple of games, Onimusha being one of them, and I'm getting very similar performance to what I had on SteamOS.
Verdict
So, whether you're putting in a new SSD, coming back from SteamOS or fixing a messed-up Windows install, this should work really well to get you a true factory reimage. It's basically the same process on any Legion Go, since the serial number picks the right version for you.
But anyways, guys, if you've done the reimage, let me know in the comments down below if it worked or didn't work for you, and which Legion Go you did it on. As always, thanks a lot for coming to check this out. I really appreciate it, and I'll see you in the next one.
Want more handheld tests?
New Steam Deck, ROG Ally, Legion Go and Steam Machine performance videos every week.